
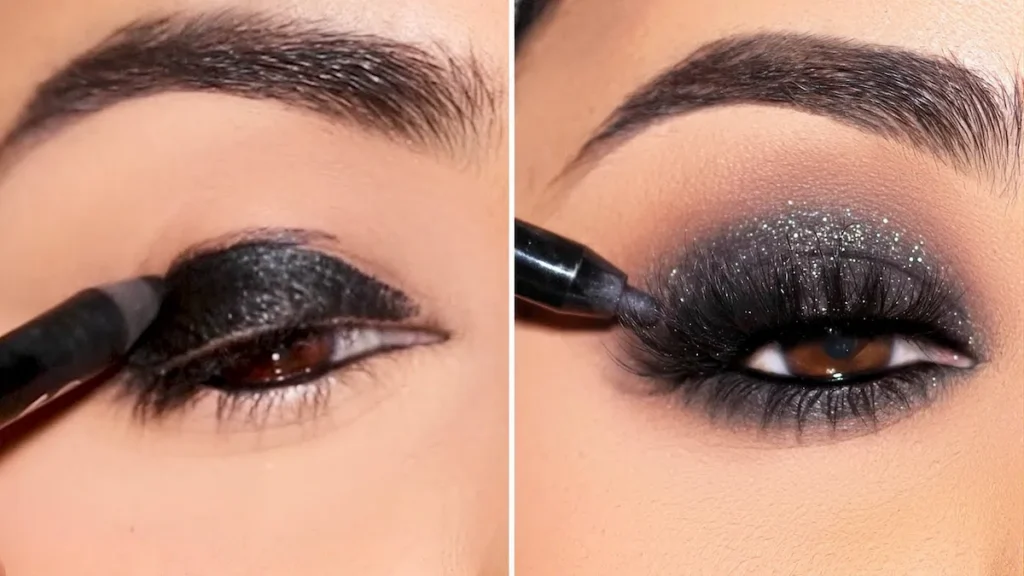
Here is a step-by-step nighout eyeshadow look.
Here’s your step-by-step guide to a gorgeous nightout eyeshadow look, one that takes your everyday makeup routine and elevates it into something a little more special with just a few extra minutes of effort.
Start by sweeping a neutral transition shade through your crease. This step is honestly so easy to skip, but it creates the depth that everything else is going to blend into, and it’s what makes the whole look feel professional instead of patchy. Next, take a deep matte shade, whether that’s a rich brown or a true black, and pack it onto your lid. Focus a little more product toward the outer corner so you get that soft, smoky effect that looks so glamorous once it’s blended out.
Now for the fun part. Take a shimmer or glitter shade and press it directly onto the center of your lid, right where the light naturally hits. This one little step is genuinely what transforms the whole look from daytime to nighttime in seconds. Once it’s in place, gently blend the edges where your matte shade and your shimmer meet, so there’s no harsh line separating the two, just one seamless, sparkly gradient.
Finish everything off with a precise wing using either liquid or gel liner, and please do not skip your mascara or a few individual lashes if you have them on hand, since they genuinely tie the entire eye look together. The real secret to a great nightout look is contrast, keeping things soft and blended where it counts, and sharp and defined where it matters most, like your liner and your lash line.
Give yourself grace if it takes a few tries to get the blending just right. Even the most stunning eye looks usually take a little practice before they become second nature.
Discussion (0)