

What you need
- Your liner. Beginners, go for a felt-tip liquid liner (it’s basically a pen). Pros, grab a gel liner and a thin angled brush for more control.
- A cotton bud with a drop of micellar water or concealer, for fixing mistakes.
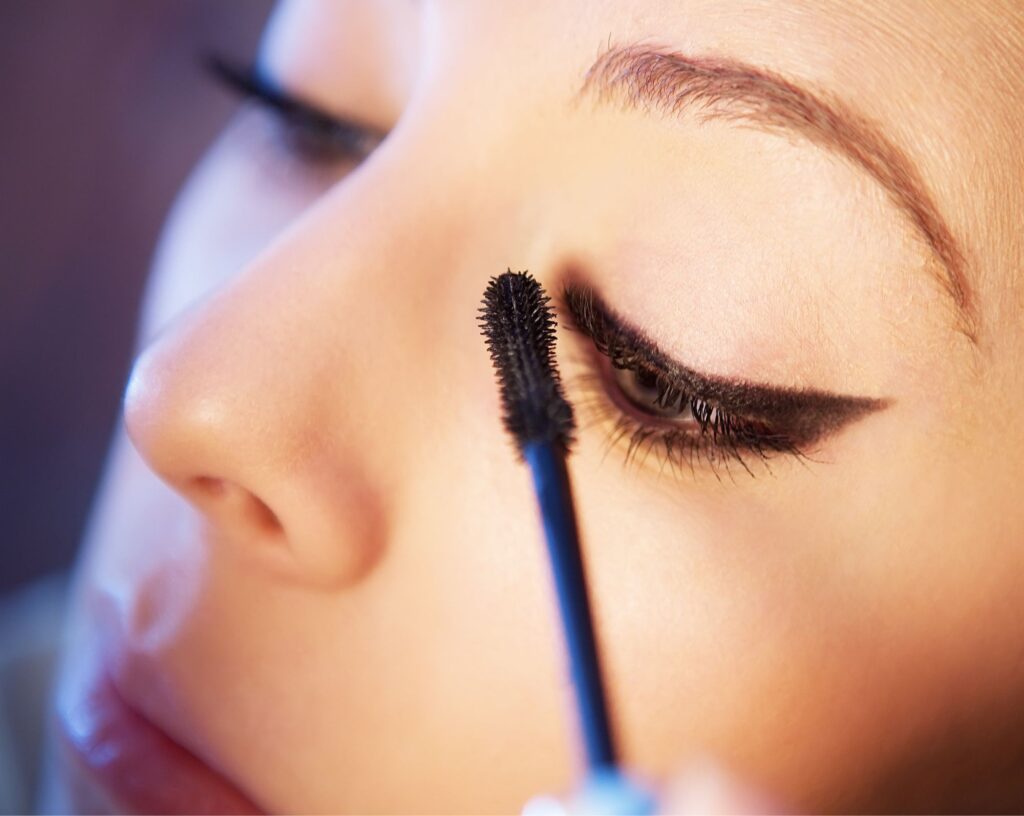
- A good mascara to finish. We love the essence Lash Princess Mascara: cruelty-free, budget-friendly and dramatic.
The 5-step method
1. Find your angle
Look straight into the mirror. Imagine a line from the side of your nose, past the outer corner of your eye. That’s where your wing should point. Same angle on both sides = wings that actually match.
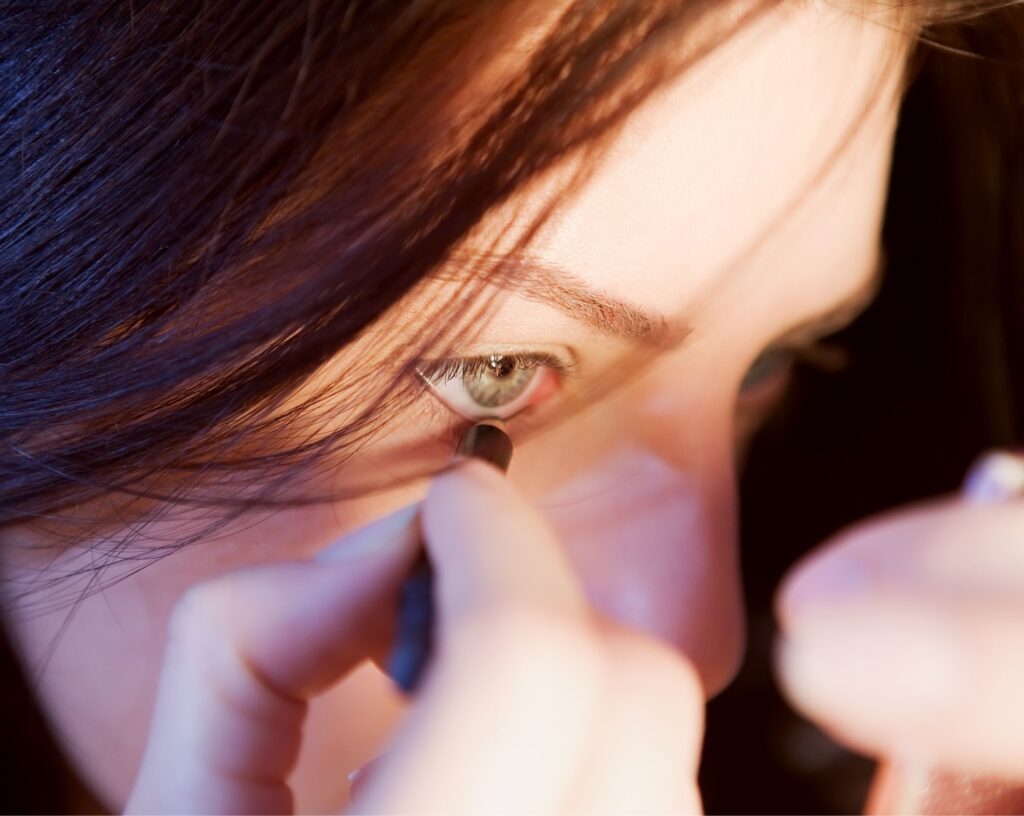
2. Flick first
Start at the outer corner and draw a short line along that angle. Keep it small. You can always go longer, but you can’t go back.
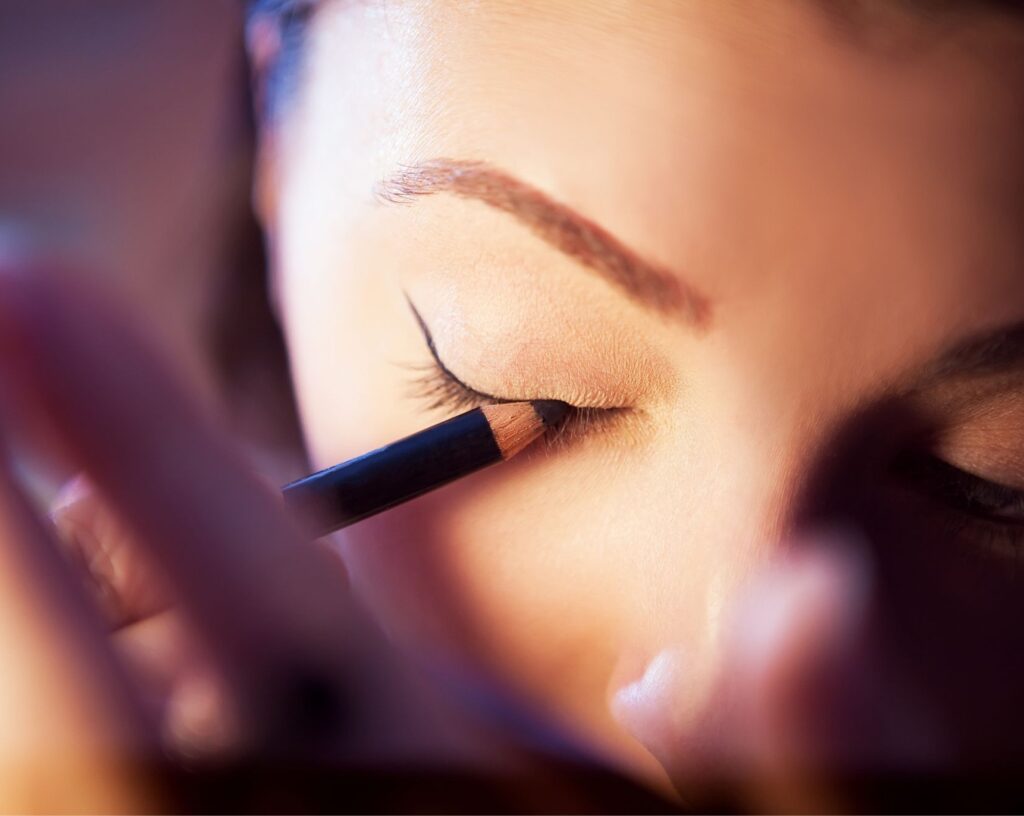
3. Make a triangle
Connect the tip of the flick to the middle of your upper lid, then fill in the little triangle.
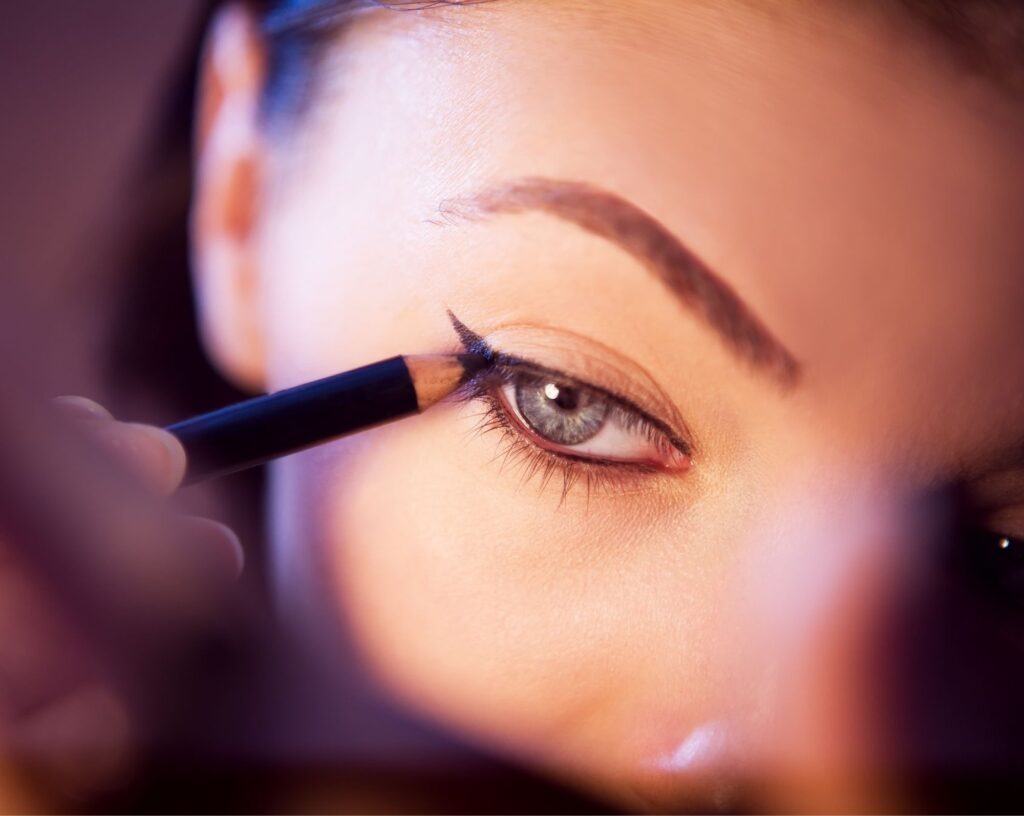
4. Clean it up
Run your cotton bud along the bottom edge of the wing to make it sharp. This is the step that makes it look professional.
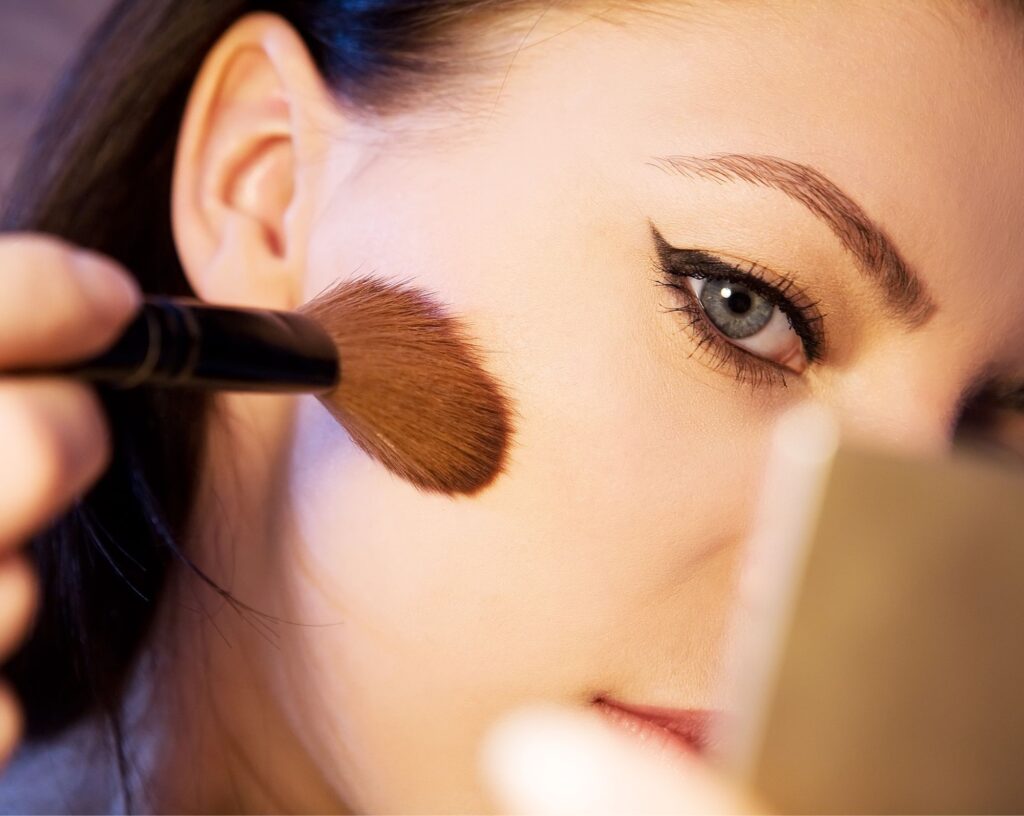
5. Final touches
Mascara is really all you need! Just one coat will add that pop to your liner
Quick fixes
- Wings don’t match? Do the flick on both eyes first, then fill in.
- Shaky line? Rest your elbow on the table.
- Smudged by lunch? Let it dry with your eyes half-closed for 30 seconds, and use eyeshadow primer if your lids get oily.
- Hooded eyes? Draw the wing with your eyes open and looking straight ahead, so it doesn’t disappear into the crease.
Pro tip for the MUAs
Working on clients? A gel liner and an angled brush let you adapt the wing to every eye shape. Keep a smudge-proof formula in your kit for long shoots.
Once you’ve got the basics, have fun with it: a tiny flick for uni, a sharp wing for a night out, or brown or plum instead of black for a softer look.
Your turn: what’s your biggest winged-liner struggle? Tell us in the comments, and we might answer it in our next post!
Discussion (0)